Erica of Erica’s Edibles was our host for the Daring Baker’s June challenge. Erica challenged us to be truly DARING by making homemade phyllo dough and then to use that homemade dough to make Baklava.
Like always, I completed this challenge last minute. And since it was last minute, it was hurried, done with zero patience- thanks to the heat, and sans key ingredients that would have made a whole lot of difference to the end result.
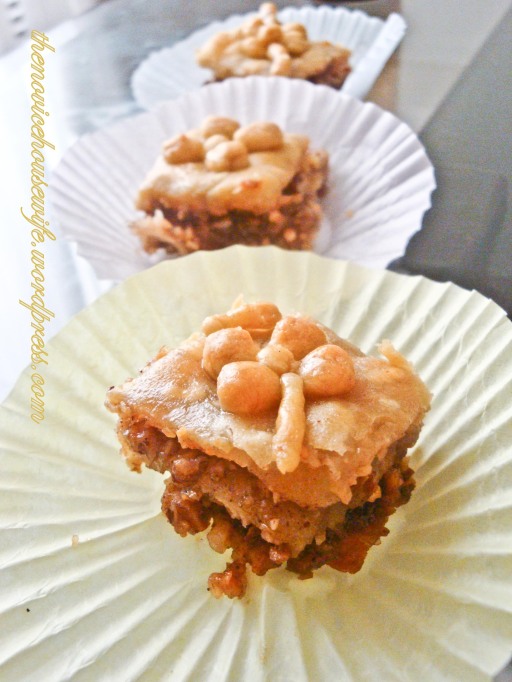 By now, I am pretty sure you would have guessed that my challenge outcome wasn’t too great! I goofed up with the syrup as I was too lazy to measure anything for it and just made it with approximations resulting in less syrup to soak all the baklava. Also, I skimped on the butter – which I think resulted in slightly harder and drier sheet layers. The filling did not have pistachios (because I did not have any and forgot to pick them up on my last trip to the store), which I feel, would have definitely added to the flavors in the filling. The phyllo dough though was pretty easy to roll out thin, barring a few sheets that did get tears- but Erica said that’s ok as long as the top layer doesn’t have any holes.
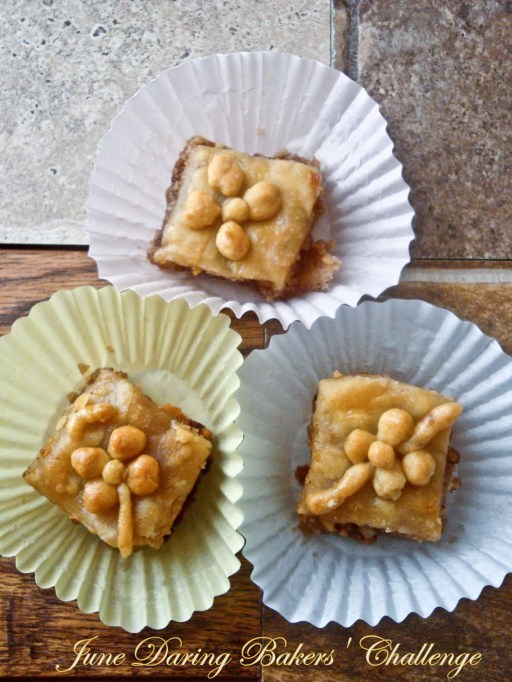 It wasn’t too bad either. But, I don’t think I’ll be trying my hand at Baklava in the near future. This is my second not-so-great attempt at Baklava. The first one was almost a year back but that time I had used store bought phyllo. The Baklava then didn’t turn out too great. This time too the results were just average. Oh! How I crave for the baklavas I had during my Dubai trip!
BAKLAVA
Inspiration for the flowers on top of baklava from here
 Phyllo Dough
Recipe from Kaffeehaus – Exquisite Desserts from the Classic Cafés of Vienna, Budapest and Prague” by Rick Rodgers
Note 1: To have enough to fill 9” x 9” baking dish with 18 layers of phyllo double this recipe.
Note 2: Single recipe will fill a 8” x 5” baking dish.
Note 3: Dough can be made a head of time and froze. Just remove from freezer and allow to thaw and continue making your baklava
Ingredients:
- 1 1/3 cups (320 ml) (185 gm/6½ oz) unbleached all purpose (plain) flour
- 1/8 teaspoon (2/3 ml) (¾ gm) salt
- 1/2 cup less 1 tablespoon (105 ml) water, plus more if needed
- 2 tablespoons (30 ml) vegetable oil, plus additional for coating the dough
- 1/2 teaspoon (2½ ml) cider vinegar, (could substitute white wine vinegar or red wine vinegar, but could affect the taste)
Directions
- In the bowl of your stand mixer combine flour and salt. Mix with paddle attachment. Combine water, oil and vinegar in a small bowl. Add water mixture with mixer on low speed, mix until you get a soft dough, if it appears dry add a little more water.
- Change to the dough hook and let knead approximately 10 minutes. You will end up with beautiful smooth dough. If you are kneading by hand, knead approx. 20 minutes.
- Remove the dough from mixer and continue to knead for 2 more minutes. Pick up the dough and throw it down hard on the counter a few times during the kneading process.
- Shape the dough into a ball and lightly cover with oil. Wrap tightly in plastic wrap and let rest 30 minutes to 2 hours, longer is best.
** Remove all rings and jewelry so it does not snag the dough**
- Use whatever means you have to get the dough as thin as you can. You may also use a pasta machine if you have one, or a normal rolling pin, or a ceramic slab roller. Also feel free to use flour generously to roll your phyllo dough as thin as possible.
- Unwrap your dough and cut off a chunk slightly larger then a golf ball. While you are rolling be sure to keep the other dough covered so it doesn’t dry out. Also be sure to flour your hands, rolling pin and counter. As you roll you will need to keep adding, don’t worry, you can’t over-flour.
- Roll out the dough a bit to flatten it out. Wrap the dough around your rolling pin/dowel. Roll back and forth quickly with the dough remaining on the dowel (see video below for a visual, its much easier then it sounds). Remove; notice how much bigger it is! Rotate and repeat until it is as thin as you can get it. Don’t worry if you get rips in the dough, as long as you have one perfect one for the top you will never notice.
- (When you are stretching the dough do it slowly with occasional rests if you are too quick you will tear the gluten strands thereby making holes in the phyllo. Don’t worry about a few small holes that is normal.)
- When you get it as thin as you can with the rolling pin, carefully pick it up with well floured hands and stretch it on the backs of your hands as you would a pizza dough, just helps make it that much thinner. Roll out your dough until it is transparent.
- Set aside on a well-floured surface. Repeat the process until your dough is used up. Between each sheet again flour well. You will not need to cover your dough with a wet cloth, as you do with boxed dough, it is moist enough that it will not dry out.
- Video on how to roll phyllo dough.
For the syrup
(make the syrup while the baklava is in the oven)
adapted from Alton Brown, The Food Network
Ingredients
- 1 1/4 cups honey
- 1 1/4 cups water
- 1 1/4 cups sugar
- 1 cinnamon stick
- 1 piece lemon peel
- a pinch of ground clove
Directions
- Combine all ingredients in a medium pot over medium high heat. Stir occasionally until sugar has dissolved. Boil for 10 minutes, stir occasionally.
- Once boiled for 10 minutes remove from heat and strain cinnamon stick and lemon, allow to cool (or if you are short on time, put the syrup in a ice bath).
- Taste the syrup you can add lime/lemon juice to cut back the sweetness. It is important to add 1/2 teaspoon of vinegar or lime or lemon juice to the syrup this will stop the syrup crystallising in the baklava.
- You can use other sweeteners apart from honey for example agave nectar, golden syrup, molasses (blackstrap or barbados), sucanat, brown rice syrup, fruit nectars, fruit juice, herbal teas, black tea, green tea and barley malt. Add spices and herbs into the cooling syrup (high temperature syrup can dull the flavours of spices and herbs).
- 1 (5-inch/125 mm piece) cinnamon stick, broken into 2 to 3 pieces or 2 teaspoons (10 ml) (8 gm) ground cinnamon
- 15 to 20 whole allspice berries ( I just used a few pinches)
- 3/4 cup (180 ml) (170 gm/6 oz) blanched almonds
- 3/4 cup (180 ml) (155 gm/5½ oz) raw or roasted walnuts
- 3/4 cup (180 ml) (140 gm/5 oz) raw or roasted pistachios
- 2/3 cup (160 ml) (150 gm/ 5 1/3 oz) sugar
- phyllo dough (see recipe above)
- 1 cup (2 sticks) (240 ml) (225g/8 oz) melted butter (you can also use clarified butter or ghee- in fact ghee gives the baklava a crispier texture- a mixture of ghee and olive oil, with the ratio favoring ghee, is the best combination)
Directions
- Preheat oven to moderate 350°F/180°C/gas mark 4.
- Combine nuts, sugar and spices in a food processor and pulse on high until finely chopped. If you do not have a food processor chop with a sharp knife as fine as you can. Set aside.
- Trim your phyllo sheets to fit in your pan.
- Brush bottom of pan with butter and place first phyllo sheet (I forgot to do this and hence had trouble removing the baklava later on)
- Brush the first phyllo sheet with butter and repeat approximately 5 times ending with butter. (Most recipes say more, but homemade phyllo is thicker so it’s not needed)
- Sprinkle 1/3 of the nut mixture on top.
- Continue layering phyllo and buttering repeating 4 times.
- Sprinkle 1/3 of the nut mixture on top.
- Continue layering phyllo and buttering repeating 4 times.
- Sprinkle 1/3 of the nut mixture on top.
- Continue layering and buttering phyllo 5 more times. On the top layer, make sure you have a piece of phyllo with no holes if possible, just looks better.
- Once you have applied the top layer tuck in all the edges to give a nice appearance.
- With a Sharp knife cut your baklava in desired shapes and number of pieces. If you can’t cut all the ways through don’t worry you will cut again later. A 9×9 pan cuts nicely into 30 pieces. Then brush with a generous layer of butter making sure to cover every area and edge. (For special celebration baklava only slice half way down when making the cuts for the individual pieces then bake this ensures only the top parts will rise and the baklava base will have a slightly denser texture that will not fall apart when picked up with fingers. This gives a better look to the finished individual pieces when served. When the baklava is 3/4 baked you can cut all the way through.)
- The best baking procedure as suggested by Audax Artifex was – bake for 30 minutes at 390°F (200°C/gas mark 6), then for 30 minutes at 300°F (150°C/gas mark 2), then for 30 minutes at 210°F (100°C/gas mark ¼). Finally, turn the heat back up to 390°F (200°C/gas mark 6) at the end to give the top a good dark golden colour. It is best to use straight-sided baking trays, if the tray is dark coloured line with foil which will stop over-browning of the baklava edges. Remember to rotate the tray throughout the baking time.
- Make sure the baklava is hot straight from the oven when you add the cooled syrup wait for the sizzle this shows the syrup is being absorbed by the pastry. The hot baklava and the room temperature syrup ensures that the phyllo sheets will be crispy in the finished dish. It will look like too much syrup but it will be absorbed over time. Pour most of the syrup into the cuts then pour the rest evenly over the tops of the pieces.
- Let the baklava cool to room temperature (this will take a few hours) before covering for storage.
- Serve at room temperature
 Freezing/Storage Instructions/Tips: There are a few ways to store your Baklava. It is recommended that you store your baklava at room temperature in an airtight container. Stored at room temperature your baklava will last for up to 2 weeks. You will notice as the days pass it will get a little juicier and chewier. You may choose to store it in the fridge; this will make it a little harder and chewy, but does increase the shelf life. You can also freeze your baklava and then just set it out at room temperature to thaw.

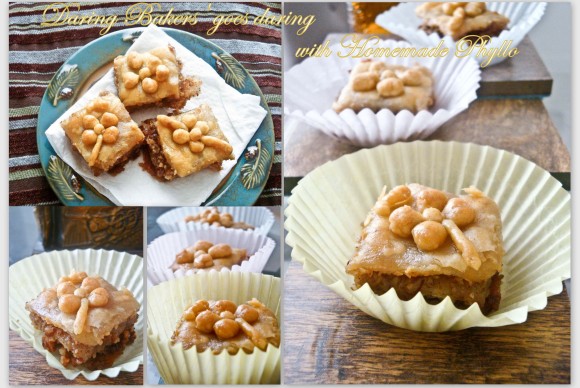
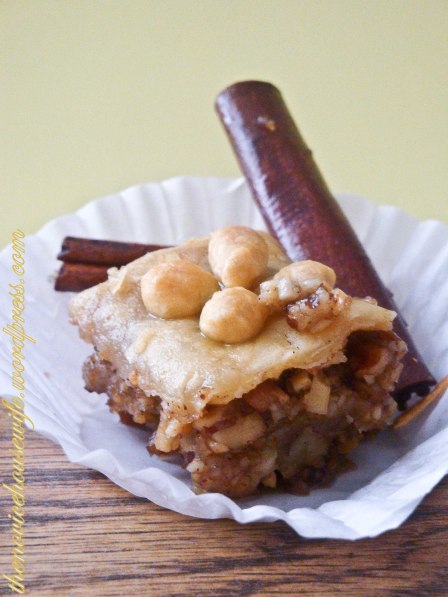
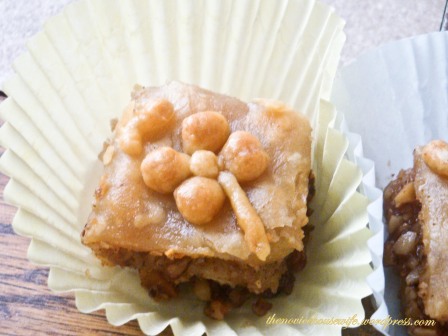


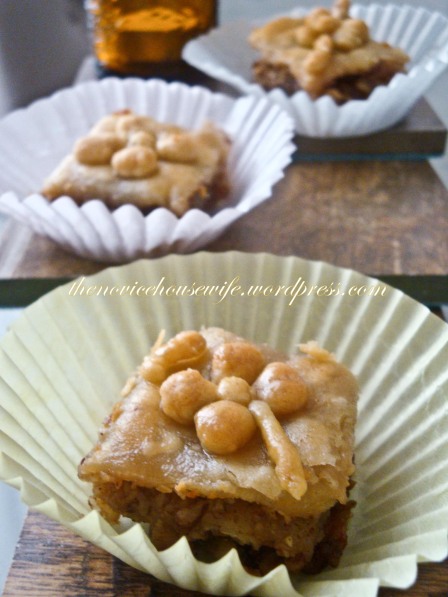
Beautiful Baklava – the flowers are a such a pretty way to finish it off.
so beautiful and amaizing baklawa ! Congratulations!
I was the opposite..I used too much butter! You can see how dark my raw baklava is in my collage. The hearts are buttered, but look white compared to the drenched sheets! lol Your baklava is gorgeous. The decor on top is stunning!! Kudos to a challenge rocked!
They still look very pretty and delicious!
love how pretty it looks..Missed this challenge:(
Thank you so much! It was a fun challenge!
Even though you weren’t happy with it, it still looks great! You even had the time and energy to make a design on top. That was way more than I did. I was happy to get all the layers assembled! Nice job on the challenge!
Hi there! So I realize this is a really old post now but I’ve recently discovered your blog, through another desi blogger who posted here. Let me first say you’ve built up quite a repository here -hats off to you for keeping such a big project running wel for so long 🙂
So here’s my baklava-specific question (I think all of us who have had baklava in the middle east do go through these cravings, fact of life).. I’ve been toying with the idea of using my homemade puff pastry to put together a baklava. I mean.. its laters of dough with layers of butter..and I do make a mean puff pastry (if I do say so myself) with fairly thin layers that crisp up nicely when baked. Only, I really want a second opinion before I commit a batch of precious pastry to an untested theory. Any thoughts? Have you tried it or come across anyone else who has? Will it soak up syrup the same way? Any ideas / thoughts are welcome!